
Interior Painting: The Prep Work
- david04220
- Jan 29, 2020
- 3 min read

Any imperfection you can see from five feet away in normal lighting should be scraped or spackled, then sanded.
The key to a successful paint project is preparation, so don’t skip these steps.
Clear away items that will get in the way of your prep work and painting (switch plate covers, window treatments, etc.) and store them along with their respective fasteners. Protect all interior surfaces in the room with drop cloths.
Paint doesn’t stick well to dirty walls. Before your paint, you should clean the surface free of dust and debris using a dust mop. For heavy oil or smoke damage, wash with a moderate amount of soap and water then allow to dry.
Surfaces with a high-gloss sheen might make it tough for the new coating to stick. Scuff-sand gloss with light sandpaper, then wipe away dust with a damp cloth and allow the surface to dry before painting.
Any imperfection you can see from five feet away in normal lighting should be scraped or spackled, then sanded. Keep in mind that vinyl spackling or lightweight joint compound used as repair filler will likely shrink as it dries and require reapplication before painting. Sand all repairs for a smooth finish, then vacuum up any dust and debris. Prime the repairs by spot-coating them with the same paint you’ll be using for the top coat.
If you’re prepping a bathroom with existing mildew, apply a 3:1 mixture of water and bleach to the infected area (plus a 1-ft. margin). Allow the bleach to work for 20 minutes then rinse off with clean water. Rinse the bleach thoroughly, otherwise the bleach can leave a film on the surface that will prevent the paint from bonding.
To Tape or Note
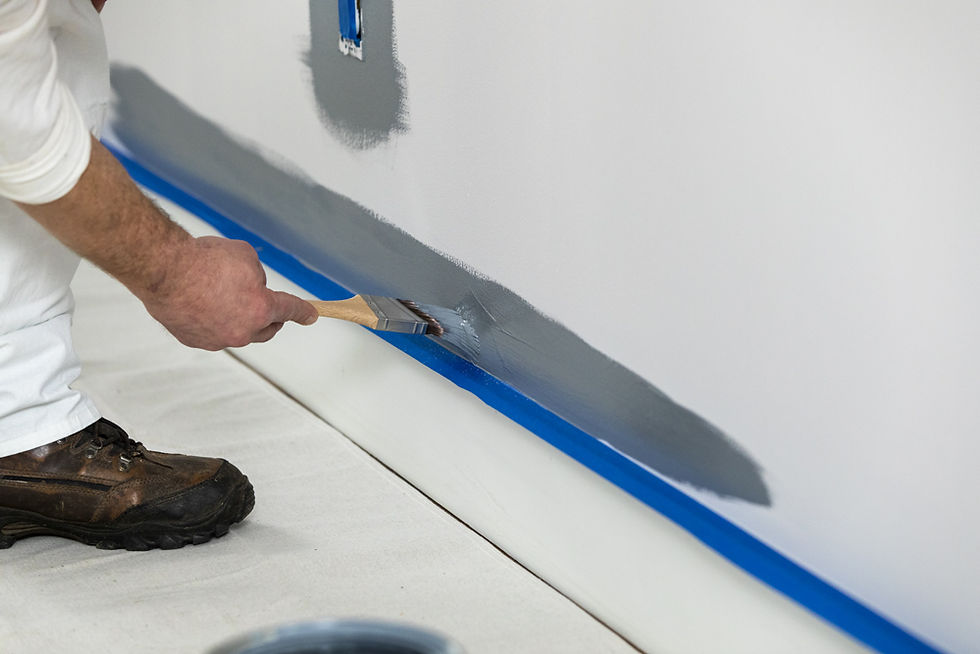
If you plan to use painter’s tape, consider painting the trim first and the walls or ceiling afterward (because it’s easier to tape off the trim than to tape off the walls). Use a putty knife to smooth the tape after you apply it to any wood trimming. Burnishing the tape will stop paint bleeding at the edges. If you have window grids, don’t worry about taping each window square; just use a razor blade to scrape away stray paint left on the glass (interiors only!).
Skip the painter’s tape? Many pro painters bypass the tape to save time because over the years they’ve developed the finesse to cut in the edges of a paint project free-handed. “Cutting in” is painting a straight line that separates two colors using only the paint brush, without masking. You often see it at the edge where a wall color is cut into a different ceiling color.
As HIR‘s painting expert, Richard Hamilton of Home Fix Up, explains, “Tape still has its place, but I mainly keep it handy for tight areas.”
Conditioning
Professionals will often condition latex paint to help it flow. Although manufactured paint conditioners are available at paint stores, you might find success by thinning your paint with a 1:10 ratio of water to paint to improve its workability and achieve a smoother finish.
You should also pre-condition your paint roller. First step: Use a strip of painter’s tape to like a lint roller to remove any fuzz or loose fibers from the dry nap. Second: Dampen the roller nap before use, then spin the water out to facilitate the “paint load.” This extra step eliminates dry rolls and minimizes lint and particles that can be transferred onto the paint.

Pre-condition your paint roller by dampening the nap before use, then spin the water out to facilitate the “paint load.”
BUT WAIT, THERE’S MORE! Be sure to check out the other two articles in our painting series:


When updating my apartment, I wanted pieces that felt coordinated without being overly decorative. That was when I started looking into collections from allen and roth. The brand is often associated with home improvement products, lighting, and furniture designed to create a balanced interior look. What stands out is the neutral palette and adaptable designs that fit different styles. For homeowners who prefer subtle elegance over bold trends, this approach can be appealing.