
Tape Like a Pro: The Idaho Painter Shares His Playbook
- Matt Weber

- Nov 24, 2025
- 6 min read

Chris Berry, better known as The Idaho Painter, has spent decades building both a successful painting business and a learning community for painters. With more than 1,500 free tutorials, product reviews, and behind-the-scenes videos on his Paint Life TV YouTube channel, he has made education a core part of his work.
Through his Paint Life Academy, Chris is expanding that mission by offering hands-on coaching and development to help address the growing need for skilled craftspeople in the industry.
In this Q&A, Chris shares practical techniques from his experience as a professional painter, including how he uses FrogTape to handle challenging surfaces, achieve crisp lines, and work efficiently without compromising quality.
Q: What are some of the most challenging surfaces to prep for painting, and how do you get clean lines with painter’s tape?
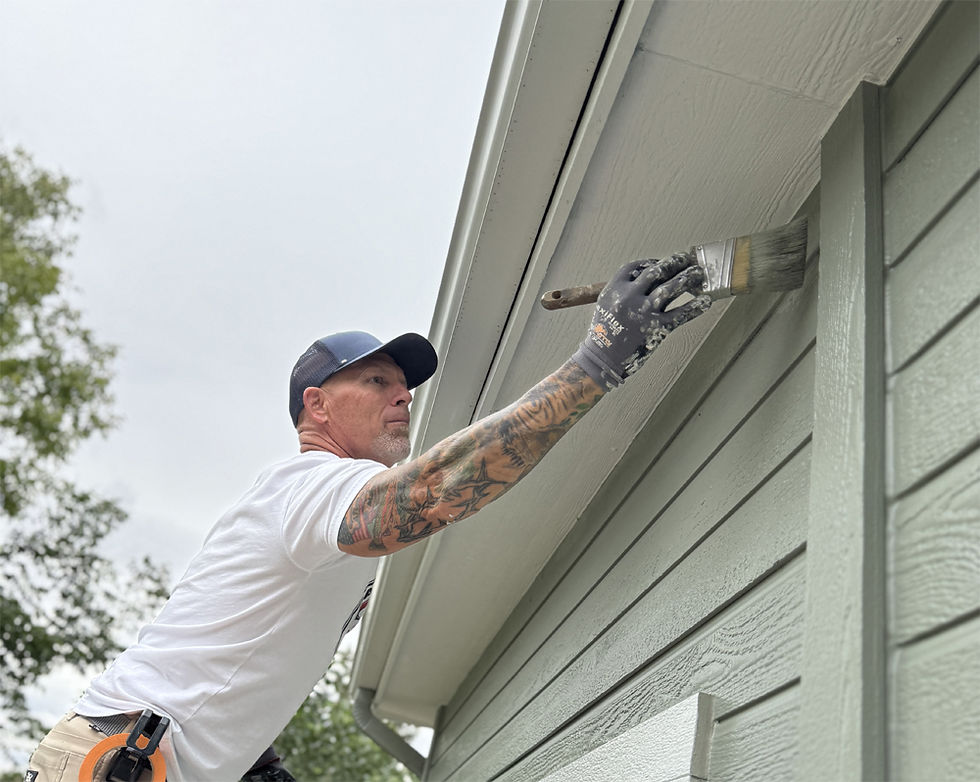
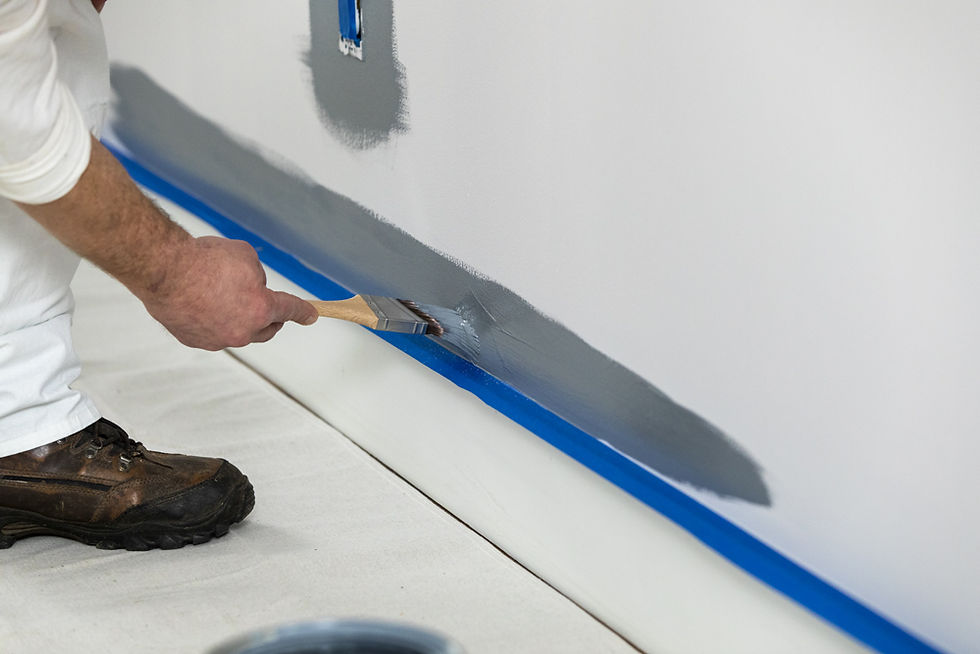
Textured surfaces are always the toughest—brick, orange peel walls, or knockdown textures. The challenge is getting a straight line across those highs and lows. FrogTape works perfectly on smooth surfaces, but on textured ones, you need to really work it into those peaks and valleys with your fingers. Sometimes I’ll also “caulk the tape,” which means running a thin bead of clear [paintable] caulk over it. The caulk fills in gaps that the tape alone can’t, and when you pull the tape before the caulk dries, you get a crisp, straight line.
Q: When you use the caulking method, what’s the secret to getting it right?
Timing is everything. If you wait too long and let the caulk dry, it forms a bridge between the tape and the surface. Then, when you pull the tape, it rips paint and caulk with it. The trick is to paint and pull while the caulk is still wet. That’s what gives you that razor-sharp line on rough surfaces. If you’re working solo, don’t get too far ahead of yourself. In a team, you can have one person caulking, one painting and one pulling tape for efficiency.
Q: Some painters argue you shouldn’t rely on tape at all. What’s your perspective on this?
Old-school painters will say you need to master cutting in with a brush. And sure, it’s important to know how to use a brush. But I’ve found that with tape, I can train someone in weeks to produce professional-looking straight lines. Teaching them to cut in with a brush alone could take years. Tape, especially when paired with caulking, is a tool that saves time and money. It’s been a huge part of how we’ve run a profitable painting business for decades.

Q: Beyond textured walls, what other scenarios are especially difficult for taping and masking?
New flooring with fresh baseboards is always tricky. If you’re not careful, paint can bleed onto the flooring or even pull off the coating. I learned that the hard way years ago. That’s why I keep FrogTape Delicate Surface Painter’s Tape in all my vehicles. It’s designed for delicate surfaces like hardwood floors, wallpaper or faux finishes. For flooring, I’ve developed a method of tearing short strips of tape and sliding them under the baseboards in a sawing motion. The thinness of the yellow tape makes it perfect for this, and it prevents both bleed-through and damage.
Q: What about wallpaper and decorative finishes—how do you handle those?
Always with a tape like FrogTape Delicate Surface Painter’s Tape. Regular production tapes will rip wallpaper or pull Venetian plaster right off the wall. We once had an employee use Orange Painter’s Tape on Venetian plaster, and it damaged the finish. Orange is great as a production tape, but yellow is what you want for wallpaper, faux finishes or delicate surfaces.
Q: Which types of FrogTape do you rely on the most?
FrogTape Pro Grade Orange Painter’s Tape is my everyday go-to because it’s affordable and has a stronger adhesive, which makes it great for exteriors and new construction. I also use a lot of FrogTape Multi-Surface Painter’s Tape—it can stay on surfaces longer and removes more cleanly. FrogTape Pro Grade Painter’s Tape is a little rougher and more professional-grade, but I don’t use it as much. Yellow is essential for flooring, wallpaper, and delicate surfaces, but I’d say I use it the least compared to orange and green.
Q: Since FrogTape Orange doesn’t have PaintBlock technology, why do you use it so often?
Cost. FrogTape Multi-Surface Painter’s Tape can be $9 a roll, which adds up. FrogTape Pro Grade Orange Painter’s Tape, being a production tape, is much cheaper and often comes in bulk. In situations where I’m spraying—like exteriors or rooflines—bleeding isn’t an issue because the paint just lays on top of the tape instead of being forced underneath. That’s where Orange shines. New construction painters with tighter margins especially lean on production tapes like this.

Q: Do you use any special tools for applying or cutting tape?
One of the top tools I recommend is the Zorr Corp 2-Edge Knife. It’s basically a five-in-one tool with a knife built in, so you don’t need to carry both a snap knife and a five-in-one. All my employees use it. It’s tough, easy to spot because of its orange color, and great for cutting perfect corners on tape. Sometimes I’ll use it lightly to press tape onto smooth surfaces, but most of the time, I rely on my hands. Fingers give you feedback and even heat up the adhesive a bit, helping the tape bond better.
We never leave tape on overnight, no matter what the release rating says.
Q: What’s your rule of thumb for drying time before pulling tape off of a surface?
As pros, we can’t afford to sit around watching paint dry. Latex paints can take 30 days to fully cure, but we need to move much faster. Usually, we’ll wait about two hours before taping over fresh paint, especially with FrogTape Multi-Surface Painter’s Tape or FrogTape Pro Grade Painter’s Tape. With FrogTape Pro Grade Orange Painter’s Tape, it’s riskier because of its stronger adhesive. For exterior jobs, we’ll often paint and mask overlapping colors the same day—it saves time, and with the right tape and light pressure, it works. That said, we never leave tape on overnight, no matter what the release rating says. Heat, UV rays and aged surfaces can cause serious damage if tape is left too long.
Q: Why don’t you leave tape on overnight, even though some tapes are rated for 21 or 28 days?
Two reasons. First, we want customers to come home to a clean house, not a construction zone. Second, environmental factors like heat, sun, and aging surfaces make it risky. Tapes can bond too aggressively and pull off finishes from old windows, hardware, or even ceiling fans. I’ve seen it happen. Even though FrogTape performs well, our policy is to pull everything the same day. It keeps things professional and reduces problems.
Q: What’s your go-to technique for removing tape cleanly?
Always pull at about a 45-degree angle, slowly and steadily. If you yank too fast or pull at too shallow an angle, you risk pulling paint off with the tape. If possible, priming surfaces before painting helps too—paint bonds better to primer, so tape is less likely to peel it up. Quick-dry primers make this much easier.
Q: What are some common misconceptions about painter’s tape do you want to clear up?
The biggest one is that “real painters don’t use tape.” That’s just not true. I hand-cut all my ceiling lines, but for trim, baseboards, windows, and uneven surfaces, tape is the smarter, faster option. On one window, cutting in with a brush might be quicker. But on a house with 20 windows, tape wins every time. It’s about using the right tool for the job.
Q: Are there any specific situations where you’ll always use tape?
Absolutely. Anytime I’m working around trim, windows, doors, baseboards, tile, or cabinets, I use tape. The only exception is ceiling lines—I prefer to cut those in by hand. But tape paired with caulking is the only way to get a perfectly straight line on things like tile grout.

Q: Any other tools or accessories you recommend?
One I really like is the ToughGaff, which comes from the movie industry. It clips on your belt and holds rolls of tape so you’re not dropping them on the ground or putting them in your mouth, which ruins FrogTape. It keeps the tape handy and protected. I use it every day now, and it’s saved me time and product.
Q: What advice would you give to other pros when it comes to taping and surface prep?
Honestly, it’s all about the prep. The tape itself is important, but how you apply it matters even more. Take the time to really seal it in, use a tool if you need to, and don’t be afraid to cut in by hand when the surface makes it too hard. At the end of the day, it’s about giving the customer the cleanest line you can.
Q: Do you have any final tips for painters learning to mask with tape?
The straightness of your painted line depends on how straight your tape is. Beginners often make short runs of tape, which leads to wavy lines. I like to pull out 18–20 in. of tape at a time, stretch it tight, tack it down and then smooth it with my fingers. If you spot a wave later, just correct it with a longer piece of tape before painting. Take the time to fix mistakes up front, and your lines will always look sharp.


Comments