
DIY Countertop Replacement Step-by-Step


by Matt Weber
We upgraded the countertop of a boy’s bathroom recently and took photos of the basic steps involved.
One of the big advantages of doing your own work is the cost savings, and this was a very budget-friendly upgrade. By shopping at our local home salvage outlet, which offers discount prices on overstock items, we kept the material cost less than $250. This price included the laminated Acacia butcher block countertop ($138), (sink $48), faucet ($42 ), plus sealant for the joints, poly to coat the wood, metal brackets to anchor the new top, and a
few plumbing parts for the faucet.
Here’s a look at the countertop aspect of the project, along with a few tips.
Here’s the old countertop to be removed.
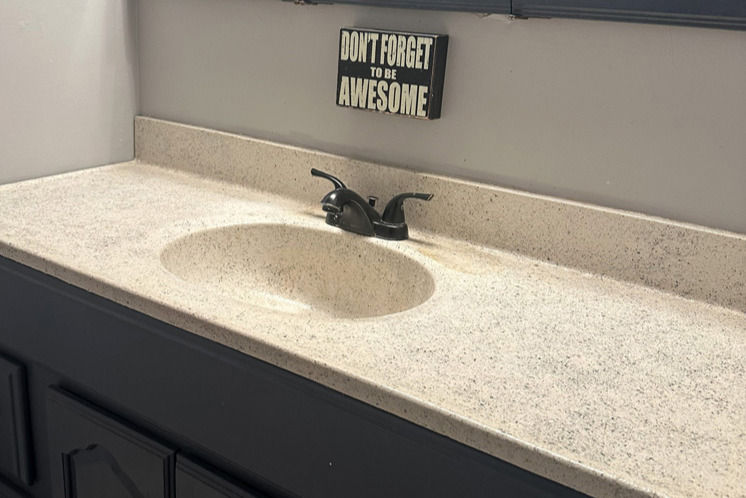
First step is to cut all the surrounding caulk joints, so the old countertop does not damage the surrounding wall or woodwork when you remove it.

Some countertops will be screwed in place, and you will need to remove the fasteners. This one was glued, and we cut through the adhesive with a scraper blade.

Remove all fasteners or glue as well as disconnect the faucet and drain, then tilt up and remove the countertop.

Cut away any residual glue or sealant from the mounting surface of the cabinet or vanity.

Carefully cut the countertop to size and shape. We used a circular saw with a track guide to ensure a perfectly straight cut.

In this case, we made the backsplash from the same sheet of butcher block material.

In such a moist environment as a bathroom, it is important to seal the wood. We recommend sealing the countertop on all sides and edges. The surface of the countertop shown has three coats of poly for protection.

To ensure a tight-looking fit with no uneven gaps at the edges, we trace the shape of the countertop edge on the wall and cut out the drywall with a buzzcutter.

By creating a notch, we can insert the countertop into the wall.

When the countertop edge is concealed inside the wall, there is no visible gap along
the sides.
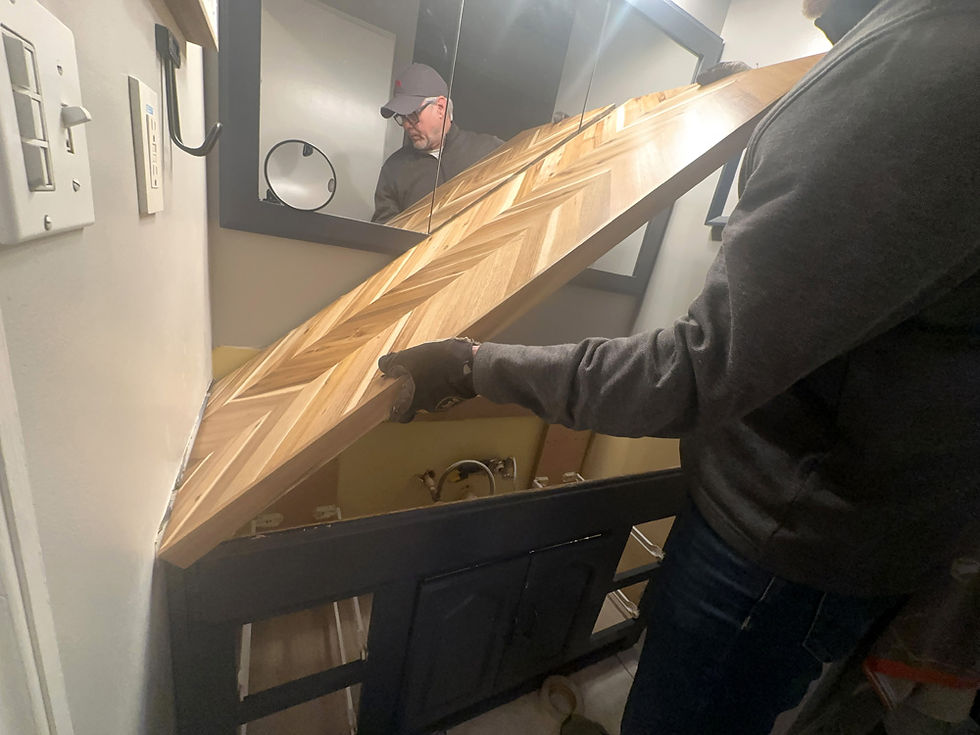
We can then repair the wall for a countertop that fits perfectly. We use the same drywall-notching technique to get a perfect fit for the backsplash.

The backsplash was fastened to the wall framing with self-drilling trim screws, which have a tiny screw head that is easy to repair with matching wood filler.

If the countertop will have a sink, then the cutout is made by clamping the countertop in place (or securely onto a workbench) and cutting with a jigsaw. Tip: Begin the cut by drilling a pilot hole large enough to insert the jigsaw blade.

Once the cutout was made, we installed metal brackets near the sink location to anchor the countertop to the cabinetry and to provide extra support for the sink. We anchored the butcher block from below with screws.

Caulk all exposed joints with a clear, waterproof, mildew-resistant sealant.

Install the sink, if applicable. Some sinks include fasteners, but many like the one shown are caulked into place .

We are a big fan of Frog Tape painter's tape, because it creates a seal when it contacts latex paint. This prevents paint bleed and protects surfaces such as the new countertop.

Repair the wall at the edges using drywall compound, careful sanding, primer and paint.
Shown below is the finished project with new sink and faucet.

Here is the finished project once the faucet and drain were installed and the walls were repaired and painted.


Comments