
Metal Legs for Rustic Furniture

Updated: Aug 26, 2021

Over the years, I’ve built a few projects using lumber I reclaimed from an old barn on my grandad’s property. I had just enough leftover boards to make a coffee table, so I made one.
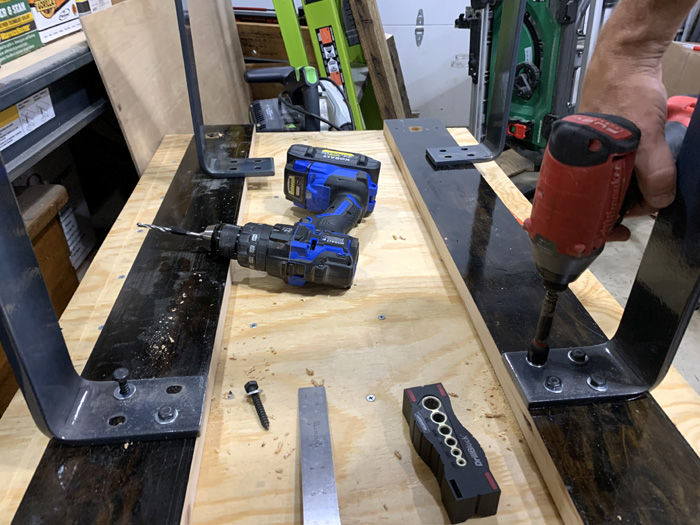
I tweaked the look of the 3/4-in. boards with a little wood stain, then fastened them onto a 3/8-in. plywood backer using 1” wood screws. The construction left a notable bit of flex in the table top, so I screwed two 1x parallel hardwood boards beneath the plywood, oriented perpendicular to the reclaimed boards. (The 1x support boards were reclaimed stair treads.)
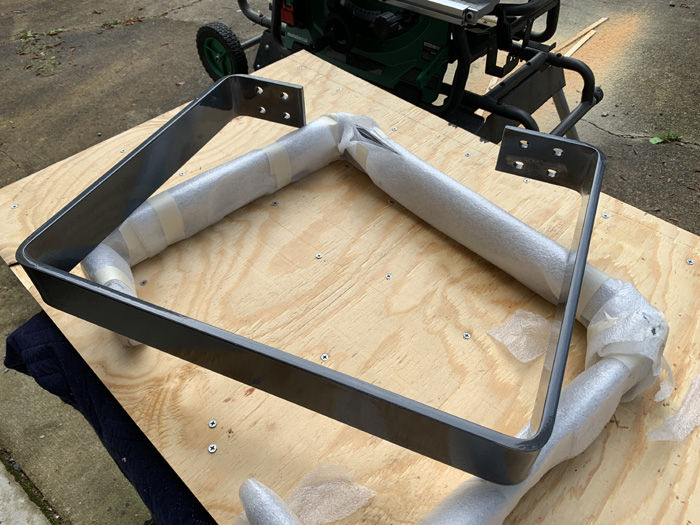
But wait! Those 1x support boards did more than just strengthen my table top. They also provided a mounting place for a pair of metal leg assemblies made by Semi Exact. The U-shaped metal legs bolt onto the table from beneath, so I used them as a spacing guide to position those 1x support boards before screwing them beneath the table top. Once they were in attached, I squared up the legs and used lag screws (4 per connection) to attach the metal legs into the 1x supports. Legs completed!
The clear-coated metal finish gave an awesome “industrial” look to my rustic-style table, plus, using the legs made it soooooooo much easier to build this coffee table than constructing wood legs from scratch.
Last step in construction was to measure the table, cut miters in the edging boards, then attach them around the table top them using wood glue and brad nails.
Final step to complete this project is to coat the entire tabletop in clear wood epoxy … but that’s a story for another blog post.

The Semi Exact company offers lots of cool-looking (and labor-saving) hardware items for construction of rustic furniture. I’ve become a fan and have a couple more projects lined up where I’ll use their products. Check out their stuff at www.semiexact.com.
Construction steps






-- M. Weber


I have been seeing information about DG Club on different websites, but I am not sure how the platform works for new users. Can someone explain the registration process and what features are currently available?
There is a nice balance between basic information and more detailed points in this article. I liked that the author did not assume readers already had complete knowledge of the subject. Instead, the discussion gradually builds an understanding from the ground up. Bdg Game Login The language is straightforward and the information feels relevant. After reading it, I had a clearer idea of the topic and its different aspects.
I’m trying to complete the jalwa game link register but I want to confirm what details are required. Does it only need mobile number verification, or are there additional steps after registration?
I tried doing a small withdrawal just to understand the process, ok win login and it was completed on the same day through UPI. Just wanted to confirm if the timing is always similar for everyone or if it depends on the amount and verification. I usually prefer keeping deposits low until I understand how everything works properly
I found this game interesting because it combines simple gameplay with a clean and attractive interface. Getting familiar with the basic features does not take much time. The controls respond well, and the overall performance feels reliable. I enjoyed the steady pace of gameplay and the variety available during different sessions. It is easy to understand and enjoyable. Sikkim game login